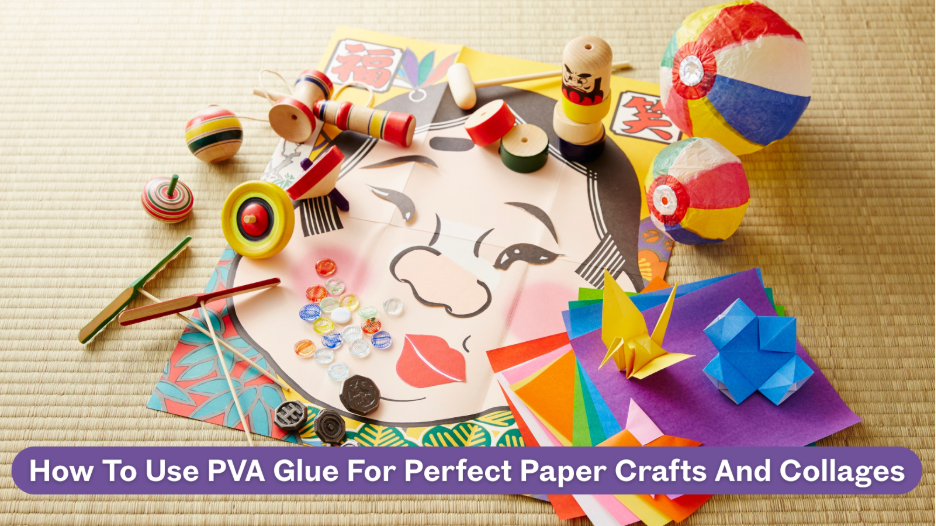
Paper crafts and collages are enjoyed by people of all ages. It may be something as easy as a cut and paste or a more advanced multilayered design, but the type of materials you use has a large impact on the outcome.
One of the most significant of these is glue, which forms the basis of any paper craft. An excellent glue will keep the fragile components of the project together and make your project look professional.
Polyvinyl acetate, also known as PVA glue, is one of the most versatile and convenient adhesives to use in paper crafting. It is non-toxic, dries very quickly, and remains clear once dry, allowing for the use of a brush, sponge, or nozzle. It is simple to apply various techniques.
PVA glue can be used in a variety of projects, including greeting cards, scrapbooks, collages, and papier-mâché. Understanding how to utilize it is a way to improve the quality of your creations in terms of both design and appearance.
This article will discuss useful tips, tricks, and techniques for attaining a perfect finish in your paper crafts using PVA glue.
What Makes PVA Glue Ideal for Paper Crafts?
PVA glue is water-based, making it easy to clean and safe for all ages. When it is dry, it becomes transparent, ensuring your craft will not have any stains or streaks. PVA provides a more durable and longer bond than glue sticks or tape, hence being more dependable for long-lasting projects.
Another great strength is its versatility. PVA can be used as a light adhesive when diluted with water for light projects and as a solid adhesive for heavy collages. It is also very effective as a layering agent because it adheres to the paper without creasing it, as long as it is used properly.
Before You Begin: Set Up Your Craft Area
Before you begin your craft project, it is best to clean and organize the working area. Even a small arrangement will help you maintain tidy, free work.
- Surface Protection: Place a cutting mat, wax paper or even an old newspaper to cover your table to avoid getting glue spills.
- Supplies: Have a paintbrush, sponge, or glue spreader close by. These tools can be used to apply the glue more smoothly and evenly than by squeezing it out of the bottle.
- Arrange Your Paper: Before applying glue to your paper, lay the pieces together in whatever shape you would like. It will help you avoid rushing and prevent mistakes when the glue is still wet.
Techniques for Applying PVA Glue

1. Thin, Even Layers
Overuse of glue is one of the biggest mistakes made when crafting paper. The thick blobs may wrinkle, warp or tear the paper. Rather, apply a thin, even coat using a sponge or a brush. The paper must be damp but not wet.
2. Edge Control
In small cutouts, use a small amount of glue, particularly along the edges. A brush or cotton swab should be fine-tipped to ensure specific placement. It will stop the glue so that it does not spurt and smear your collage.
3. Press and Hold
Once you have a glued piece on your base paper, press it down. It can be smoothed with a clean roller, bone folder or the back of a spoon. It also eliminates air bubbles, resulting in a smooth, polished surface.
4. Drying Time
Depending on the thickness and the humidity, PVA glue is expected to dry within 20-30 minutes. To achieve maximum effect, the layers should dry completely before adding another layer. Hurrying this part may result in gluing and pieces sliding.
Avoiding Common Problems
- Wrinkling: This is caused by excessive glue or too-thin paper. To avoid this, apply as little adhesive as possible and use stronger paper stock in collages.
- Glue Marks: This happens when glue leaks out under the edges. Wipe with a moist cloth and then leave to dry.
- Bubbling: It is usually caused by the lack of even application. Flatten the paper, pressing to get air out.
By paying attention to these pitfalls, your projects will appear more professional and clean.
Creative Uses of PVA Glue in Paper Crafts
1. Layered Collages: The power of PVA glue lies in its design to work with collages that feature various layers of paper, textiles, or lightweight decorations. Use very thin sheets to create depth but no bulk.
2. Scrapbooking: PVA glue is a great option because it is used to fix photos, cutouts and decoration pieces, as it dries clear.
3. Papier-Mache: PVA glue is ideal when diluted in water and used in papier-mâché projects. Combine glue with an equal portion of water, and paste it on pieces of newspaper to make strong but flexible designs.
4. Textured Effects: Some crafters apply deeper consistencies of PVA glue as a resist or to make raised textures. When dry, they can be repainted to create individual decorative finishes.
Caring for Your Tools
To extend the life of your brushes and sponges, rinse them immediately after use. Since PVA glue is water-based, warm water and mild soap are usually enough to clean tools thoroughly. Leaving glue to harden will damage bristles or sponges, making them less effective for future projects.
Conclusion
PVA glue is a universal glue, clear, strong, and handy for all the projects in school, as well as exquisite replicas. Wrinkles or bubbles are typical problems that can occur when proper preparation, application, and patience are not taken during the drying process.
Whether you are applying cutouts, creating a scrapbook, or doing papier-mâché, PVA glue can ensure that your project remains clean and sturdy. Indeed, it is a straightforward process of learning how to use it effectively to make a significant difference in producing the polished results.