

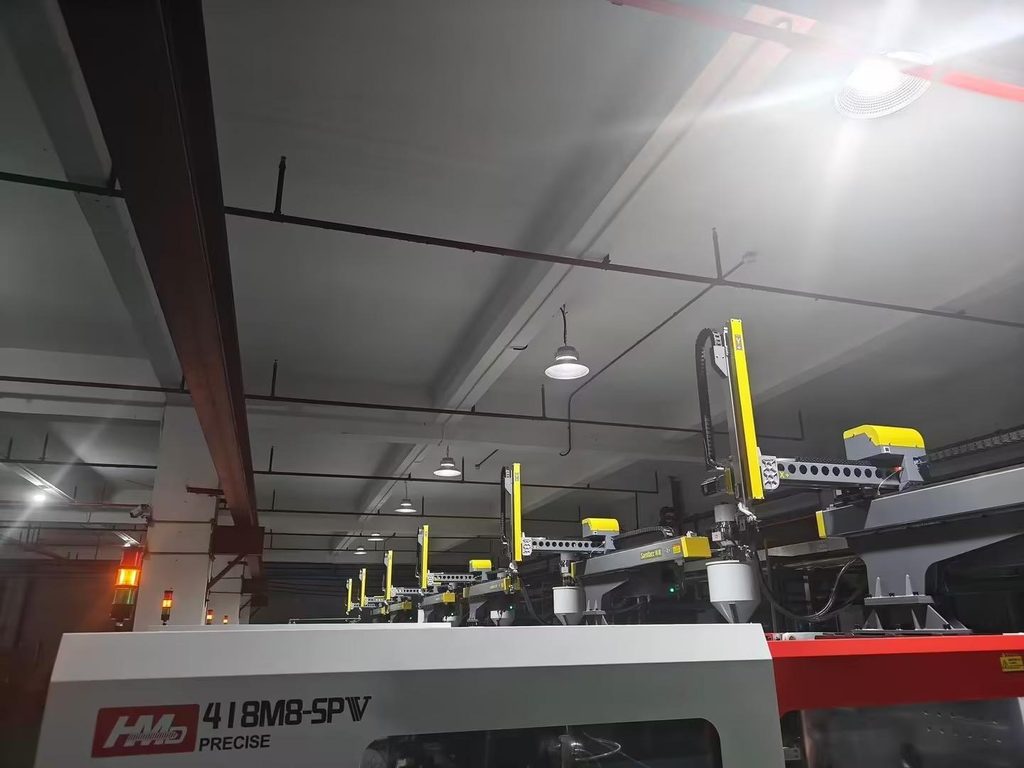
From the aisle, an injection moulding cell looks almost calm: pellets go in, printed tubs come out. Step inside the safety fence and you see the real work — a three-act sequence that repeats every few seconds. First a label is picked from a magazine, then it is placed inside the mould, then the finished part is pulled out and stacked. The device performing all three acts is the iml robot, a pick-and-place unit designed specifically for in-mould labelling. A well-chosen iml robot can run for years with barely a hiccup, but only when the cell around it is set up with the same care. That means a layout that avoids waiting, grippers that hold reliably, labels that feed cleanly, cycles that are tuned rather than guessed, and maintenance that catches wear before it catches you.
Lay Out the Cell So Nothing Waits
An iml robot cell is built around one rule: the robot must never stand idle waiting for material, and the mould must never wait for the robot. That means the label magazine, the conveyor or stacking station, and the mould itself all sit within the arm’s natural reach, along the shortest possible travel paths. Keep the label magazines on the same side as the pick approach so the arm never crosses over finished parts, and give the operator clear access to the magazines without opening the safety gate. Map the pick-place-extract path first, then bolt everything down. When the iml robot moves in short, straight lines with no wasted travel, the whole cell runs quieter, cooler and faster.
Commission the Cell Before the First Shot
Before production starts, run a full dry cycle with the mould open and no plastic in the barrel. Watch the iml robot pick a label, confirm the vacuum holds through the entire traverse, place the label flat against the mould wall, and retract fully clear of the closing mould halves. Check that the part-extraction grippers open wide enough to clear ejector marks and that each finished tub lands flat on the conveyor instead of tipping. The dry run is also when you teach the iml robot its positions: pick point, place point, extract point and home. Teach them with the machine at operating temperature, because a warmed-up mould sits a fraction of a millimetre differently from a cold one, and labels placed off-centre are the most common reason a first production run gets scrapped.
Care for the EOAT and Grippers
The end-of-arm tooling is the iml robot’s hands, and it wears invisibly. Label grippers rely on vacuum cups or electrostatic charge, and both lose holding power as cups crack or charge bars collect dust. Inspect the vacuum cups every week and replace any that show splits at the lip — a cup that seals at ninety percent today will drop a label during a fast traverse next month. Keep every label-contact face free of oil; a wipe with isopropanol takes a minute and prevents the smudged prints that customers notice first. On the extraction side, check that gripper jaws close evenly and that rubber pads have not glazed over. Keep a spare EOAT set on the shelf: when an iml robot stands idle because a custom gripper needs machining, the whole line waits with it.
Load Label Magazines So They Feed Cleanly
Label misfeeds cause more unplanned stops than any other fault in these cells, and almost all of them trace back to how the magazine was loaded. Fan the stack before loading to break static cling, and resist the urge to overfill — a magazine packed tight doubles the pick force and causes double picks. Store labels in a climate-stable area; humidity curls paper-based stock and dry air makes polypropylene labels build static, both of which defeat a clean pick. If your cell runs an iml robot with static-assisted placement, confirm the charge polarity matches the label stock and wipe the charge bar clean at the start of each shift. Five careful minutes at the magazine saves an hour of clearing jams later.
Tune the Cycle Instead of Guessing It
Cycle time is where the profit hides. Start from the mould’s cooling requirement — the iml robot must finish its pick-and-place before the mould is ready to close, not after. Then trim the robot’s own motion: shorten the traverses, overlap the extraction move with the start of the next label pick, and cut dwell time at each taught point to the minimum that still seats labels reliably. Most controllers let you shave two to five tenths of a second per cycle this way, which compounds into thousands of extra parts per shift. Log the cycle time every week; a slow upward drift usually means a pneumatic valve is getting lazy or a linear guide wants grease, long before anything actually fails. And resist running the iml robot at its full rated speed — eighty-five to ninety percent leaves margin for worn cups and warm afternoons without dropping labels.
A Preventive Routine That Prevents Surprises
Put these checks on a calendar and the cell will warn you about wear before wear stops the cell:
- Daily: confirm vacuum pressure at the gauge, check label magazine levels, wipe label-contact faces.
- Weekly: inspect vacuum cups and gripper pads, grease linear guides, verify taught positions have not drifted.
- Monthly: check cable chains for pinched air lines, test safety interlocks, review cycle-time logs for drift.
When something does go wrong, troubleshoot in order: labels first — misfeed, static, curl — then vacuum, then motion, and only then the controller. Nine times out of ten, an iml robot that ‘stopped working’ is really a five-dollar vacuum cup that gave up quietly overnight.
