
Let me tell you something I wish someone had told me when I bought my first house. I called a plumber six times in two years for things I later discovered I could have fixed myself in under an hour. A toilet that would not stop running. A showerhead barely trickling. A bathroom sink that drained like it was thinking about it. Every call cost me a service fee and a chunk of my afternoon. And every time the plumber left, I thought, How did that look so easy?
The answer is that it was easy. Most common household plumbing problems genuinely are not complicated once you know what you are looking at. The problem is that most of us were never taught the basics. We grew up assuming plumbing was one of those things only professionals could touch, and we never questioned it.
This guide is here to change that. It covers what tools you actually need, how to handle the most common plumbing issues step by step, when to put the wrench down and call someone qualified, and how to stay safe throughout. If you ever hit a problem that is clearly beyond DIY territory, www.247plumbernearme.net is the fastest way to find a licensed emergency plumber near you who is actually available right now.
Basic Plumbing Tools Every Homeowner Needs
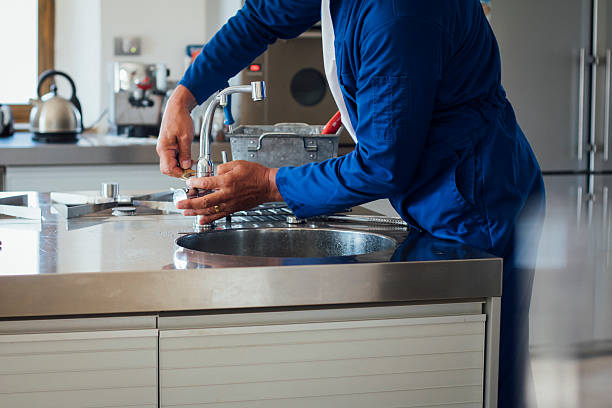
You do not need a van full of equipment. You need maybe eight to ten things kept together somewhere you can find them quickly. The tools below will handle the overwhelming majority of plumbing DIY work in a typical home. Buy quality where it matters and do not cheap out on the wrench or the pliers. Cheap tools strip fittings and make jobs harder than they need to be.
Adjustable Wrench
Used on nearly every plumbing job. Get one with a smooth jaw adjustment and a grip that does not slip when your hands are wet.
Cup Plunger
For flat drains in sinks and tubs. The flat rubber cup creates a seal against the drain surface. Keep one under every bathroom sink.
Flange Plunger
Designed for toilets. The extended inner flap fits into the drain opening and gives you actual pressure instead of just splashing water around.
Hand Drain Auger
A 20- to 25-foot cable snake that reaches blockages a plunger cannot. More effective and less damaging to pipes than chemical drain products.
Slip Joint Pliers
Also called channel locks. Adjustable grip for different fitting sizes. Useful for plastic P-traps, supply line nuts, and similar connections.
PTFE Thread Tape
Wraps around threaded fittings before assembly to prevent leaks at the joint. Costs almost nothing and prevents a huge number of small drips.
Flathead and Phillips Screwdrivers
Faucet handles, access panels, and fixture bases all involve screws. Have both types in your kit, and you will not get caught short.
Bucket and Old Towels
Put a bucket under every fitting before you open it. Residual water in the line always comes out. Every single time. Plan for it.
One more thing worth having: a decent LED work light or head torch. Sink cabinets and behind toilets are dark. Working by phone screen light means you miss things, including small leaks after the job is done.
Step-by-Step DIY Fixes for Common Plumbing Problems
These are the situations that come up in nearly every household at some point. Each one has a straightforward fix that does not require a professional unless something unusual turns up once you get into it.
A Toilet That Keeps Running After Flushing
This is probably the most common plumbing complaint I hear from homeowners. The toilet flushes and then just keeps running. Quietly, constantly, all day and night. The culprit is almost always the flapper: a rubber valve at the bottom of the tank that seals the opening between the tank and the bowl. When the flapper warps or wears out, water trickles through the gap continuously, and the tank never fully refills.
Confirm it is the flapper
Take the lid off the tank and press down on the flapper with one finger. If the running stops immediately, the flapper is your problem. If it keeps running, the float or fill valve may need adjusting instead.
Shut off the supply and drain the tank
Turn the shutoff valve on the wall behind the toilet clockwise until it stops. Then flush once to drain the tank. The flapper is now accessible.
Remove the old flapper and match it at the store
Flappers come in different sizes and shapes depending on the toilet brand. Take the old one with you to the hardware store. They cost two to five dollars, and the staff can match them quickly.
Clip on the new flapper and set the chain length
The chain between the flapper and the flush handle arm should have about half an inch of slack. Too tight and the flapper cannot seal; too loose and it gets trapped underneath. Turn the water back on, let the tank fill, and flush to test.
A Slow or Completely Blocked Sink Drain
Do not reach for chemical drain cleaner first. Those products are harsh on older pipes; they often fail to fully clear the blockage, and they leave corrosive residue sitting in the drain. Start mechanically, and you will usually get a better result with less damage.
For bathroom sinks, plug the overflow hole near the top of the basin with a wet cloth before using a plunger. That hole vents air, and without it plugged, you are pushing air in a loop rather than building any real pressure on the clog. Give it ten to fifteen firm strokes. If that does not shift it, the blockage is deeper in the drain line, and a hand auger will reach it. Feed the cable in slowly, feel for the clog, work through it gently, and pull back slowly to avoid pushing debris further down.
A Dripping Faucet That Will Not Fully Turn Off
A faucet that drips ten times per minute wastes around three thousand liters of water per year. It is also almost always fixable with a new washer or O-ring, which costs less than a coffee. The process involves turning off the fixture supply valves under the sink, removing the faucet handle by unscrewing a small screw usually hidden under a decorative cap, and replacing the worn rubber component inside the valve stem.
Take photos at each stage of disassembly. This sounds like basic advice, but I have seen people confidently take apart a faucet and then stare blankly at a pile of small parts with no idea what went where. Your phone camera is the most useful tool in your kit for any job that involves multiple small components.
Replacing an Old or Clogged Showerhead
If your shower pressure has dropped over time, there is a reasonable chance the showerhead itself is clogged with mineral deposits rather than there being a larger pressure problem. Remove it and soak it overnight in white vinegar. Most of the time, the holes clear completely, and the pressure comes back. If the head is genuinely past the point of saving, replacing it takes about five minutes: unscrew the old one, clean the pipe threads, wrap fresh PTFE tape clockwise around the threads, and screw the new head on. Hand-tight and then a small turn with a wrench. Test it. Done.
When DIY is Not Enough, and You Need Plumbing Experts
I want to be straightforward about this section because it is the part people sometimes gloss over when they are feeling confident after the fixes above. The jobs described in this guide are self-contained. They involve components you can see, reach, remove, and replace without touching anything structural or systemic.
Once a problem moves into the walls, the floor slab, the main supply line, or the sewer connection, it is in entirely different territory. The consequences of getting those jobs wrong are significantly worse: structural water damage, contaminated water supply, and failed pipe joints hidden inside finished walls. These are not minor inconveniences. They are expensive, disruptive problems that a DIY mistake can turn into extremely expensive, long-term ones.
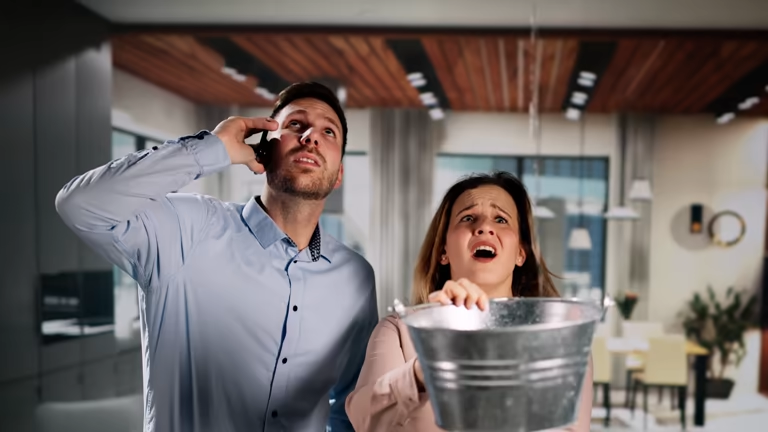
When any of the following apply to your situation, stop the DIY attempt and find qualified help. 247plumbernearme.net makes it straightforward to find a licensed plumber near you who is available around the clock, not just on weekdays during business hours.
- Water is appearing from inside a wall or ceiling without an obvious surface source
- More than one drain in the house is slow or backing up simultaneously
- Is there any smell of sewage anywhere inside the living space
- The water heater is leaking from the tank body itself rather than a fitting
- The repair requires getting inside walls, floors, or ceilings
- You have already tried fixing it, and it has gotten worse
- A gas line is anywhere near the area you are working in
Calling a professional when you have gone past your own skill level is not giving up. It is just the decision that costs you the least in the long run. The homeowners who end up with the worst repair bills are almost always the ones who pushed past that point without stopping.
Safety Tips During Plumbing Work
Plumbing DIY is low risk when you follow basic precautions. Most of the injuries and costly mistakes that happen during home plumbing work come from a handful of repeated errors. These are worth knowing before you start any job.
Shut Off the Water Before You Open Any Fitting
Always. Even for a job that seems like it will take two minutes. Even when you are sure the fixture is not under pressure. Test that the water is actually off by opening the nearest faucet and confirming nothing comes out before you touch any fitting or connection. This one habit prevents the majority of DIY plumbing accidents.
Keep Electricity and Water Separated
If there are outlets, light switches, or under-sink power strips anywhere near your work area, unplug or switch them off before you start. Wet hands near electrical fittings is a risk that is entirely avoidable with thirty seconds of preparation.
Do Not Overtighten
This is genuinely one of the most common DIY mistakes, and it causes a lot of damage. Plastic fittings crack. Metal thread strip. Neither one needs to be cranked down hard to stop a leak; the seal does the work, not the tightness. Hand-tight plus a quarter turn with a wrench is enough for most household fittings. If it is still leaking after that, the tape or the washer is the issue.
Let Pipes Cool Before Working on Them
Hot water pipes and water heater connections stay hot for longer than you would expect after the supply is shut off. If you are working near the water heater or on hot supply lines, give everything time to cool before putting your hands near any joint or fitting. Burns from hot pipe connections are more common than they should be.
Final Reminder
Never work on or near gas lines yourself under any circumstances. If you are ever in any doubt about whether a pipe carries gas, stop immediately and call a licensed professional. It is never worth guessing on that particular question.
Bringing It All Together
Building basic plumbing skills is one of the more practical things you can do as a homeowner. It saves money, yes, but it also gives you a better understanding of how your house works and more confidence when things go wrong. A running toilet at midnight is stressful when you have no idea what to do. It is genuinely not a big deal once you have fixed one before.
Start with the small stuff. Fix a dripping faucet. Replace a showerhead. Clear a slow drain properly instead of pouring chemicals down it and hoping. Build from there. And when you run into something that sits clearly outside the range of what this guide covers, stop, protect the area, and call someone qualified. That is not admitting defeat. That is just good judgment, and it will serve you well every single time.